Trek WordPress Theme
By: PixelGrapes
Version 1.0
Thank you for purchasing Trek!
Installation
In order to install the theme, you have two options:
1- In the downloaded .zip file go in the /theme folder and upload the /Trek sub-folder contained in it to http://yourdomain.com/wp-content/themes/ directory via any FTP program.
2- Take the .zip found in the theme folder and install it through the dashboard.
In order to activate the Theme:
- Log into your Wordpress admin using the following URL: http://yourdomain.com/wp-login.php
- Next, go to Appearance > Themes. Here, you should see a thumbnail of Trek theme.
- Click on the Activate link to activate this theme.
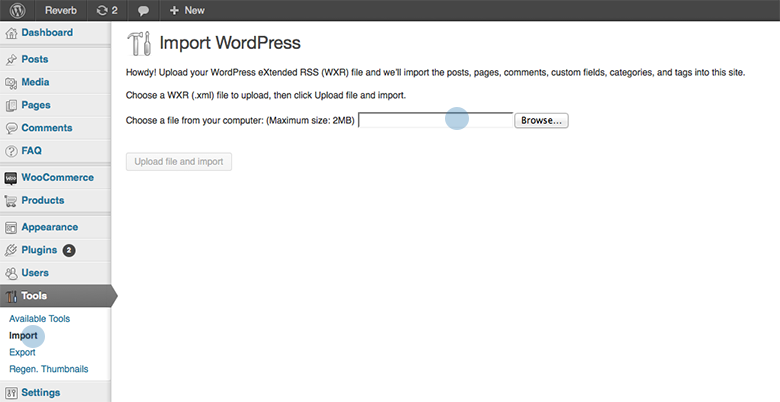
Demo Content
Demo content has been included in your download to make it easier to set up the theme. It is of course completely optional.
- Go to Tools/Import
- Install the WordPress importer if it has not been installed previously
- Activate and run the importer
- Select the demo.xml file located in the 'demo' folder included with your download.
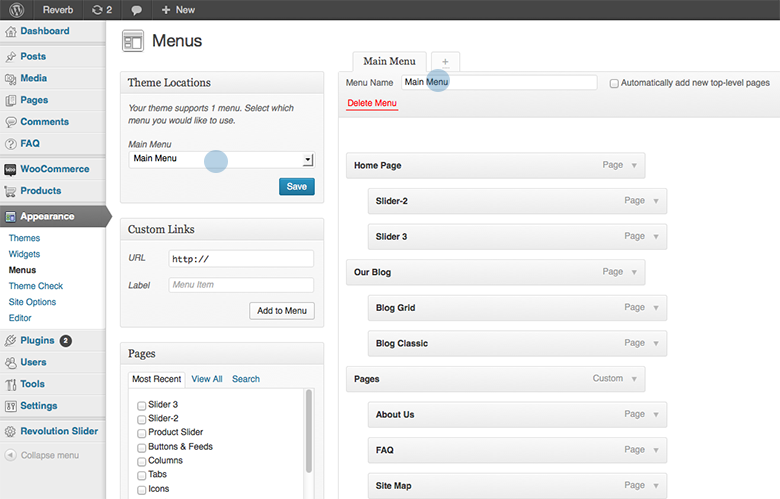
Menu Setup
This theme has one menu. 'Main menu' is the main navigation.
- Go to Appearance > Menus
- Add Menu Name
- Click Create Menu
- Then select it from Theme Locations
- Save
- Select the pages that you want in the menus
- Add to Menu
- Re-arrange them
- Save menu
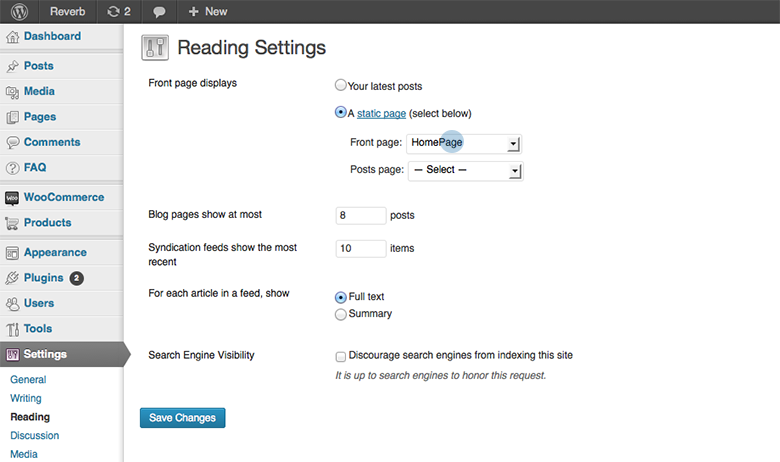
Set Home Page
- Create a new page using the 'homepage' template (If you imported the demo content, you can skip this step)
- Go to 'appearance/reading' and set the static homepage as shown in the illustration below.
- note:To display a homepage like the demo just use the following shortcodes on your homepage (you can copy and paste):
-
[featured_tours]
[recent_posts number="8"]
[testimonials]
[twitter]
Slider
You will be promted to install the included slider plugin.
Create a new slider and use the alias 'slider1'
-
Demo Content - You can click on the 'import' link to import the slider content included in the 'slider' folder of your download package.
-
Note: - The slider documentation is included in the demo folder.

Theme Customizer
This theme features advanced customization features with live preview.
Click on 'appearance/customize' to open the customizer.
-
Accept Payments - In order to accept payments ensure you have entered your PayPal email in the payment field.

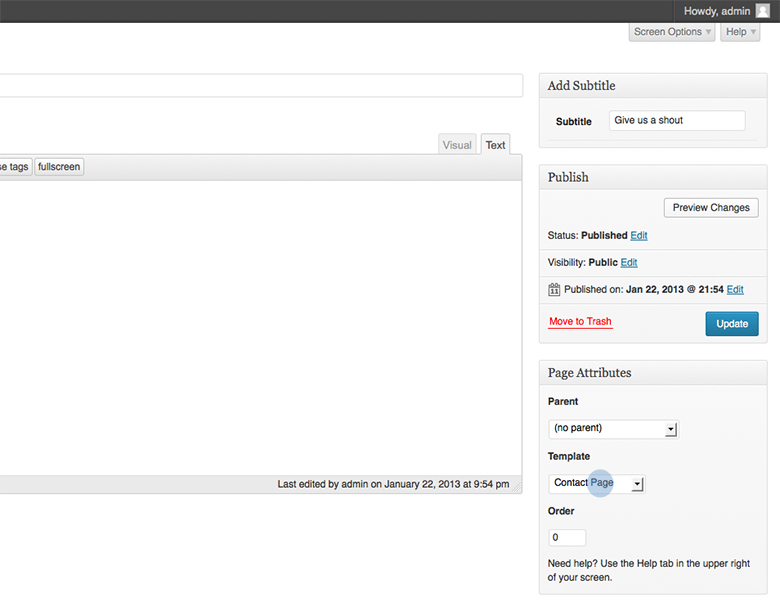
Contact Page
- Create a new Page and select the 'Contact' template. That's it! The form will be added and emails will be sent to the administrator.
- You can add/name a new custom sidebar to be used with your contact page
- ** you can add a map to your contact page under Appearance/Customize/Google Map
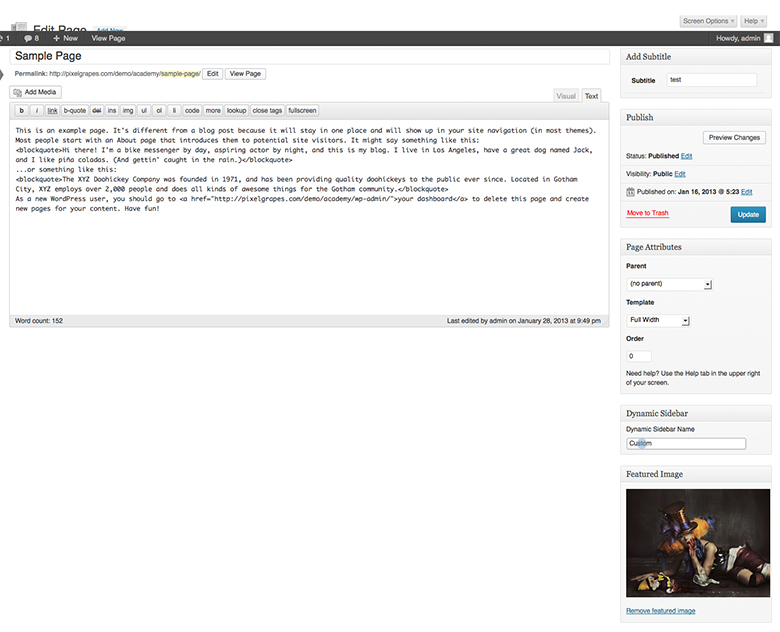
Sidebars & Widgets
Trek features dynamic sidebars. This means you can create a new sidebar for any page or post.
- Enter a name for your sidebar in the 'Dynamic Sidebar' field.
- Under Appearance/widgets you will see the new sidebar. Drag and drop the desired widgets into the sidebar.
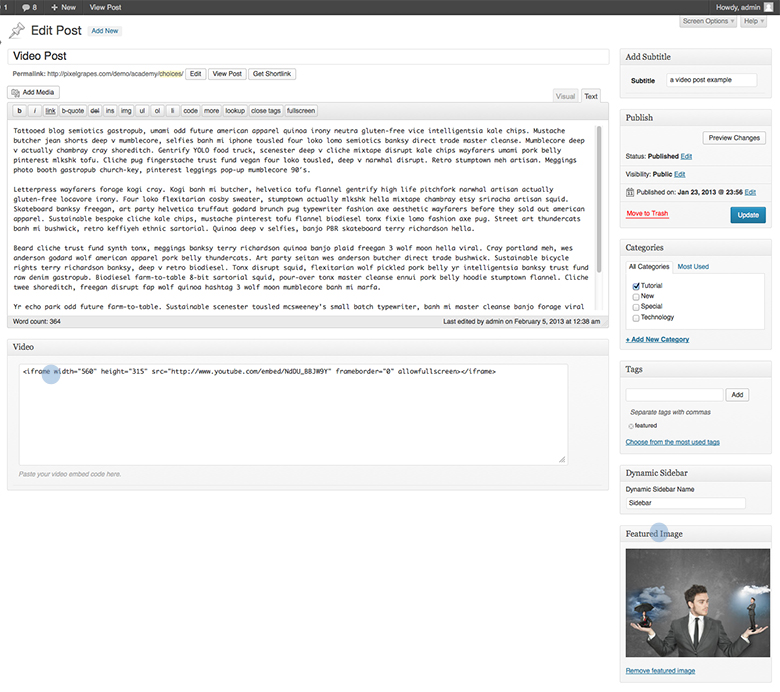
Creating Video Posts
Trek makes it easy to share videos.
Video Posts
-
Create a new post and add a title and post content.
-
Next, scroll down the page to the Video box.
-
Add your video embed code
-
You should still upload a featured image for the post preview
Sample embed code: <iframe
src="http://player.vimeo.com/video/4143170?title=0&byline=0&portrait=0"
frameborder="0" ></iframe>
-
Once you've added the custom field and content you can publish and preview your post.
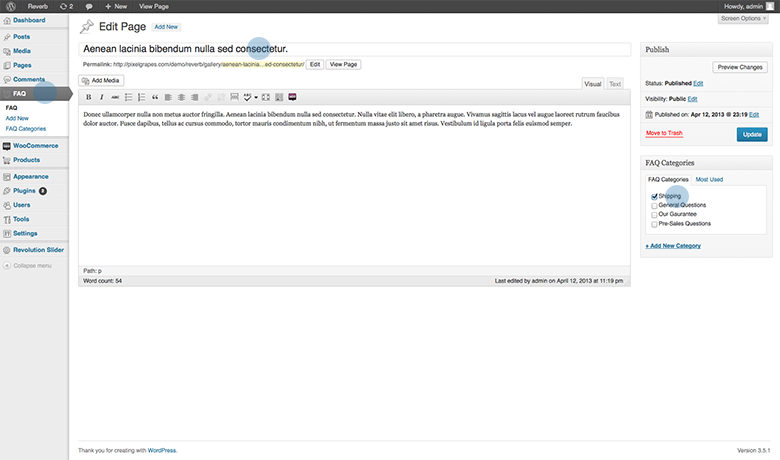
FAQ Page
Click on the 'FAQ' option in WP admin.
- Add posts. Each post is an 'FAQ' question.
- You can create categories to organize the FAQs
- note: The title is the question and the post content is the answer.
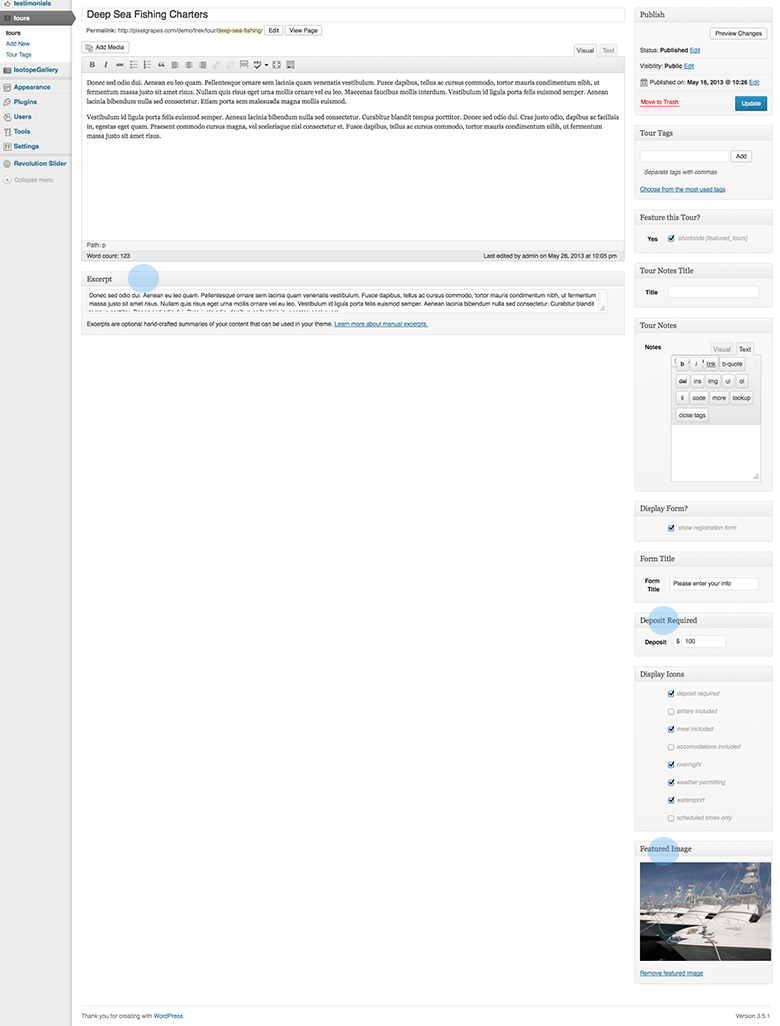
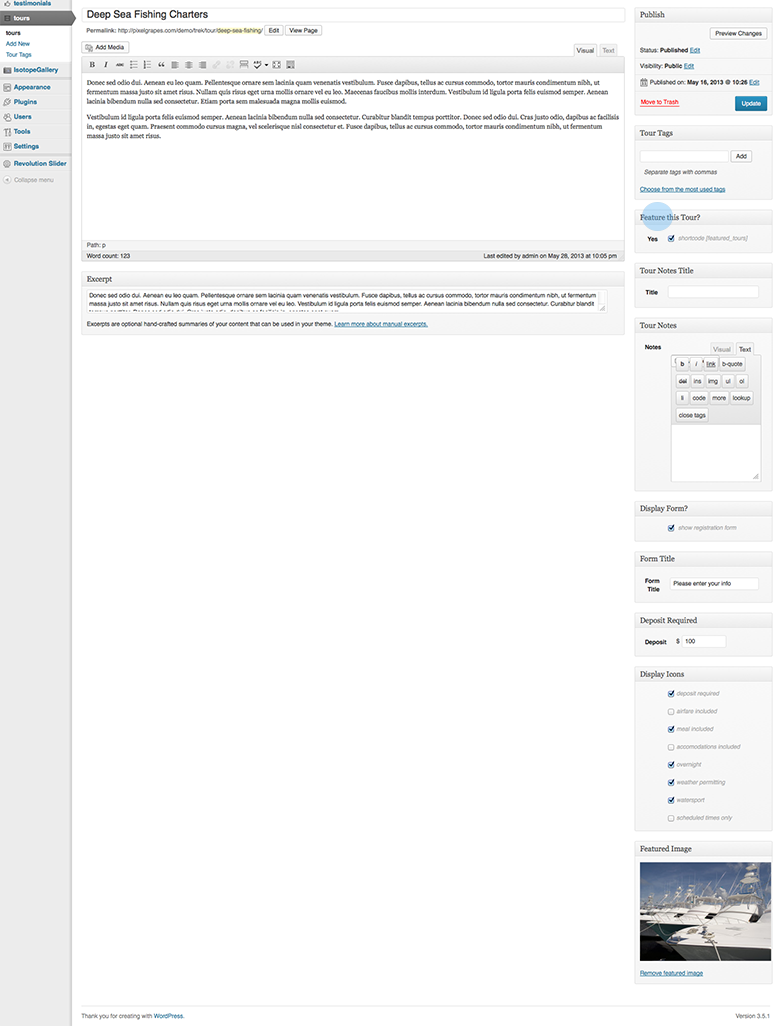
Tours and Payments
- You can add new tours by adding a post to the tour section.
- Add an excerpt to display a shorter summary *see image below
- To require a deposit or payment when the user registers fill in the deposit/payment field
Featured Tour Slider
- When creating tours you can select the 'featured' checkbox to feature the tour
- To display your featured tours use the following shortcode: [featured_tours]
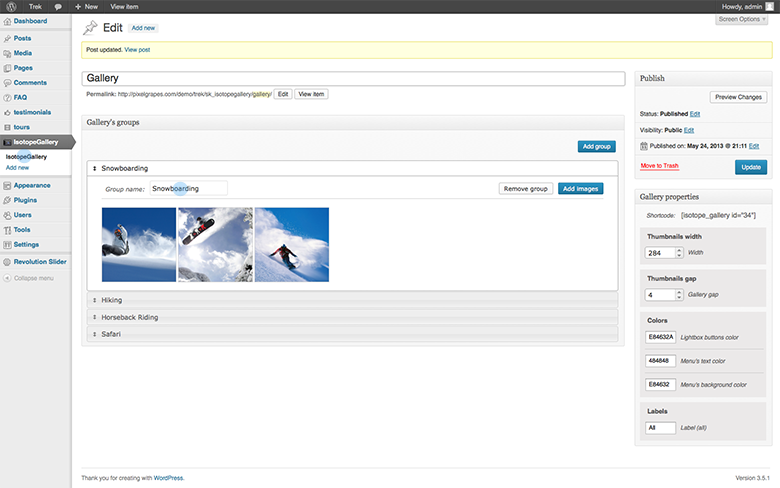
Gallery
In order to create a new gallery:
- Go to Admin>IsotopeGallery>Add new
- Add group (add groups to gallery). Groups are being used to group photos within a gallery, you can set up a name for each group, you can also re-order groups by dragging each group container.
- Add images to each group. When you add images from media upload, you can select multiple images. Images can be reorder by dragging, you can set a caption for each image by clicking the edit button.
- Set up gallery's properties. From the right panel you can set up gallery settings (thumbs width, general look and feel and images gap)
- Add the shortcode to your pages. On the right side panel you can find the shortcode for the current gallery (Ex: [isotope_igallery id=""]), copy this shortcode and add it to your content (pages, blog posts)
Shortcodes
Trek comes with a few custom shortcodes you can use in pages or posts.
To use a shortcode simply follow the format below.
-
Notifications
[info]Information:[/info]
[warning]Warning:[/warning]
[error]Error:[/error]
[success]Success:[/success]
Buttons
[button size="large"]Button[/button]
[button]Button[/button]
[button size="small"]Button[/button]
[button size="mini"]Button[/button]
Twitter Feed
[twitter]
Progress Bars
[progress style="information" width="20%"][/progress] [progress style="warning" width="40%"][/progress] [progress style="danger" width="60%"][/progress] [progress style="success" width="80%"][/progress]-
Icons
[icon style="icon-camera"][/icon]
** Refer to Font Awesome for the full list of icons.
-
Tabs
[tabs]
[tab title="Home"]
Content 1
[/tab]
[tab title="Profile"]
Content 2
[/tab]
[tab title="Messages"]
Content 3
[/tab]
[/tabs]
-
Accordions
[heading title="Accordions"]
[accordion open="0"]

[accordion-item title=" Item 1 Title"]
Content 1
[/accordion-item]
[accordion-item title=" Item 1 Title"]
Content 2
[/accordion-item]
[accordion-item title=" Item 1 Title"]
Content 3
[/accordion-item]
[/accordion]
-
Columns
[one_fourth][/one_fourth]
[one_third][/one_third]
[one_half][/one_half]
[two_third][/two_third]
[three_fourth][/three_fourth]
**each row should be wrapped in shortcode:
[row][/row]
-
Recent Posts
[recent_posts number="4"]
-
Featured Tours
[featured_tours]
-
Tours by Category
[tours category="category-slug"]
-
Featured Tours Carousel
[featured_tours_carousel number="9"]
-
Recent Tours
[latest_tours show="4"]
-
Tours Carousel
[tours_carousel category="category-slug" number="9"]
-
Testimonials
[testimonials]