

How to quickly setup and use this theme.
In order to install the theme, you have two options:
Appearance > Themes. Here, you should see a thumbnail of Market theme.You will be promted in the WordPress Dashboard to install theme required plugins. Follow the prompts to install them.

Demo content has been included in your download to make it easier to set up the theme. It is of course completely optional.
Go to Tools/Import and install the WordPress importer plugin. You can then use it to upload the included demo.xml file.
Note: - Make sure you have installed the required plugins before importing the demo content.
Note: - To import widgets you can use/install the widgets importer plugin.
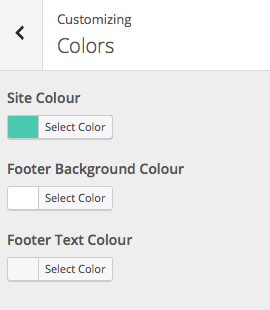
This theme features advanced customization features with live preview. Click on 'appearance/customize' to open the customizer.
ColorsHighlight colors of the theme can be set.
You can also select the color of the main navigation/menu bar. The default setting uses a '*smart' navigation. It will change colors depending on the section background. You can set this in the 'page-builder' sections.
Note: - See more on this in page builder section.
LogosYou can upload a header logo.
There is also an option to select a second log for better visibility on a light background. The logos are automatically switched/displayed depending on the background colour of the navigation bar.
Header ImageSet a sitewide custom header image. The header image is shown on pages using the 'default' template
Note: - You can overide the header image on individual pages (featured image).

'appearance/customize' and select the 'Static Front Page' tab. Set the 'Front page'.'appearance/customize' and select the 'Static Front Page' tab. Set the 'Posts page'.Note: - To set the same page as your homepage and main posts page, simply set the "Posts Page" to your desired page and leave the "Front Page" selection as the default -select-.

You can add widgets to the sidebar in Appearance > Widgets.
Note: - The theme sports 3 widget areas. The footer, the blog/posts sidebar and a downloads pages sidebar.
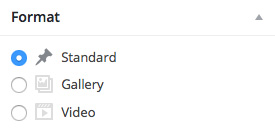
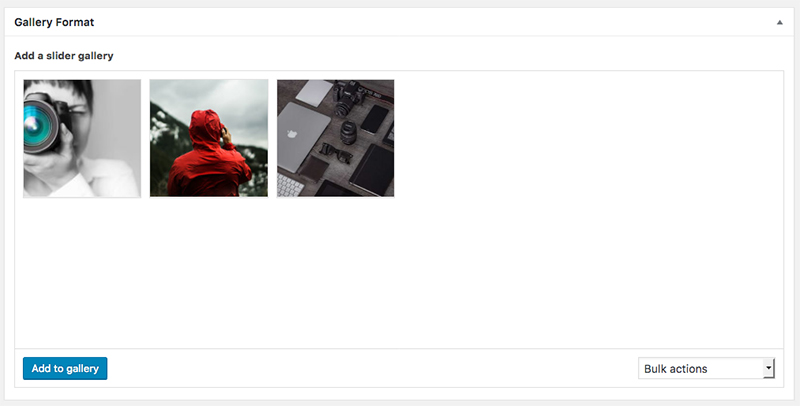
The Market theme supports several post formats. You can select 'gallery', 'video' or standard post format from the radio list on the right.
When you click the desired post format the post entry fields will change.
This is a regular post. You can anter a 'featured image' to display above the post.

This theme includes intuitive 'page builder' sections which allow you to quickly layout pages.
When you create a new page you will notice the 'layout' section. Simply click on the 'add row' button from the bottom right to pull up the sections menu. Simply select the section you would like to add.
Note: - The 'editor'section pulls up the main WordPress content editor.
Note: - Drag & Drop sections to reorder them. Or hover over the right edge to delete them.
Note: - The 'Hero Section' can be used with the 'Blank Template' to use the slider as the first section on the page.


You can add custom header images to pages/posts by uploading a 'featured image'. If no featured image is added the page will use the default header image set in appearance/customize/header image.
Note: - header images are best at 1900px + wide.
You can create a child theme to add custom css. See more here.
For installation & basic setup of the EDD plugin please view the official docs.
There are a few custom theme features that pertain to EDD which we will cover here.
EDD plugin creates several pages upon installation. You will want to change the page template type on thes pages to 'EDD Page Template'. This template creates a neat & tidy block.
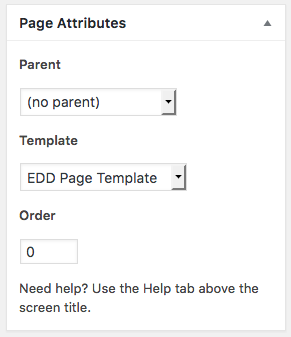
Note: - You can use this page template for other pages you create if you wish to use the block styleing.
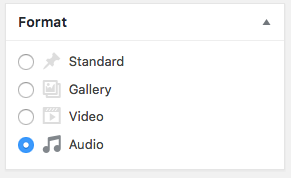
You can select standard, gallery, video or audio post formats.
To display multiple images in a slider with lightbox you can choose the gallery post format. Then simply select your images.
To display a featured video select the video post format and enter a link to your video.

To include a featured audio file select the audio post format and enter a link to your audio file.

Note: - The audio player is placed over your featured image. So be sure to include a post featured image.
The theme makes it easy to add item specs which are displayed in the item sidebar. Add as many as you like by clicking the 'plus' symbol.
You can add metatags over item images to highlight impotant features or facts (optional). They work in the same manner as specs. You can click on the 'plus' symbol to add more. Add one per line.

For installation & basic setup of the FES plugin please view the official docs.
Note: - After installation it is recommended (but optional) to import the demo-fes.xml content to get you started.
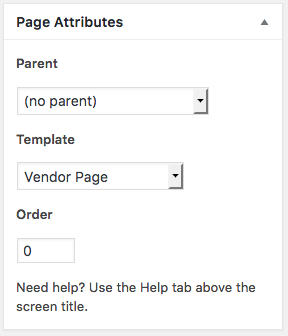
To include a vendor page in your site simply create a new blank page named 'vendor' and set the 'Vendor Page' template in page attributes. The theme is smart enought to use this as the FES vendor page (no shortcodes required).
The FES plugin has a great form builder tool & the Market theme fully leverages this tool. To create a front-end submission form that allows vendors to submit new item go to EDD FES/submission form.
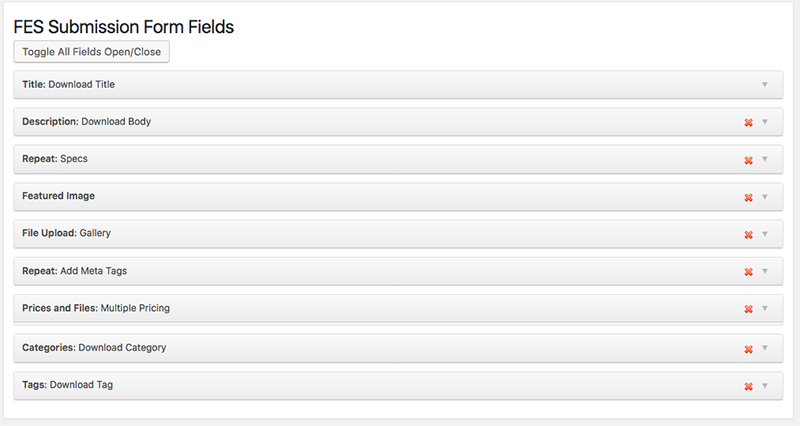
There are a few custom fields you can add to your form to accept gallery images, image tags & specs.
Drag and drop the file upload field to you form. Set the 'Meta Key' as gallery_images.

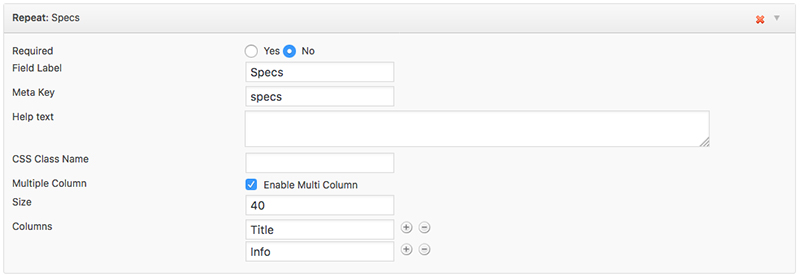
Drag and drop the repeater field to you form. Set the 'Meta Key' as specs. Enable multi-column and set your two column titles.
Drag and drop the repeater field to you form. Set the 'Meta Key' as metatags.
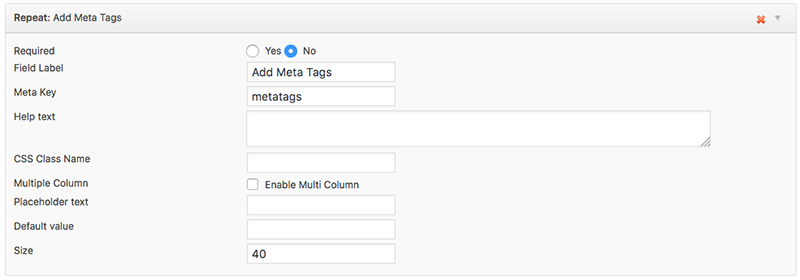
Note: - These are the tags that appear over the featured image.
The theme includes Linear icons which can be used in some page builder sections.
For additional support please visit the theme support forums here.